Inspections
Creating an Inspection Template
Build a reusable inspection template.
Last updated June 10, 2026
Templates define what gets inspected and how it's scored. 🔍
1
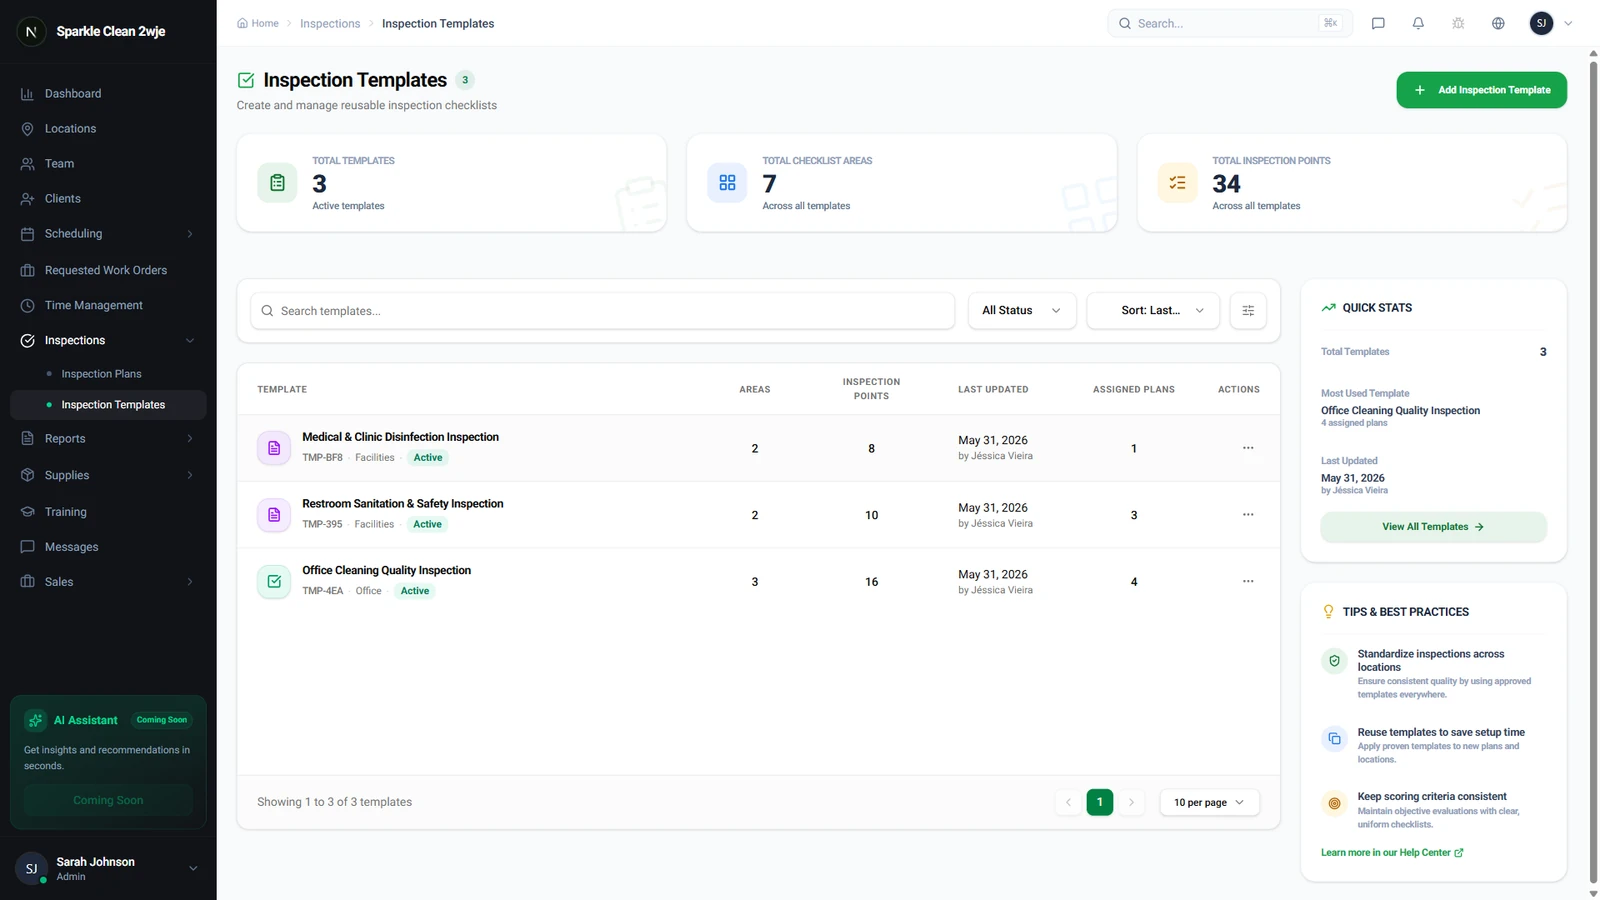
Open Inspections
Click Inspections in the sidebar. Navigate to the Templates tab to manage inspection templates.
2
Create an Inspection Template
Click + Create Template. Name your template and add a description of what it covers.
💡
Pro tip: Start with 5-10 items per area. Too many makes inspections tedious.
📋 Form Fields
| Field | Required | Description |
|---|---|---|
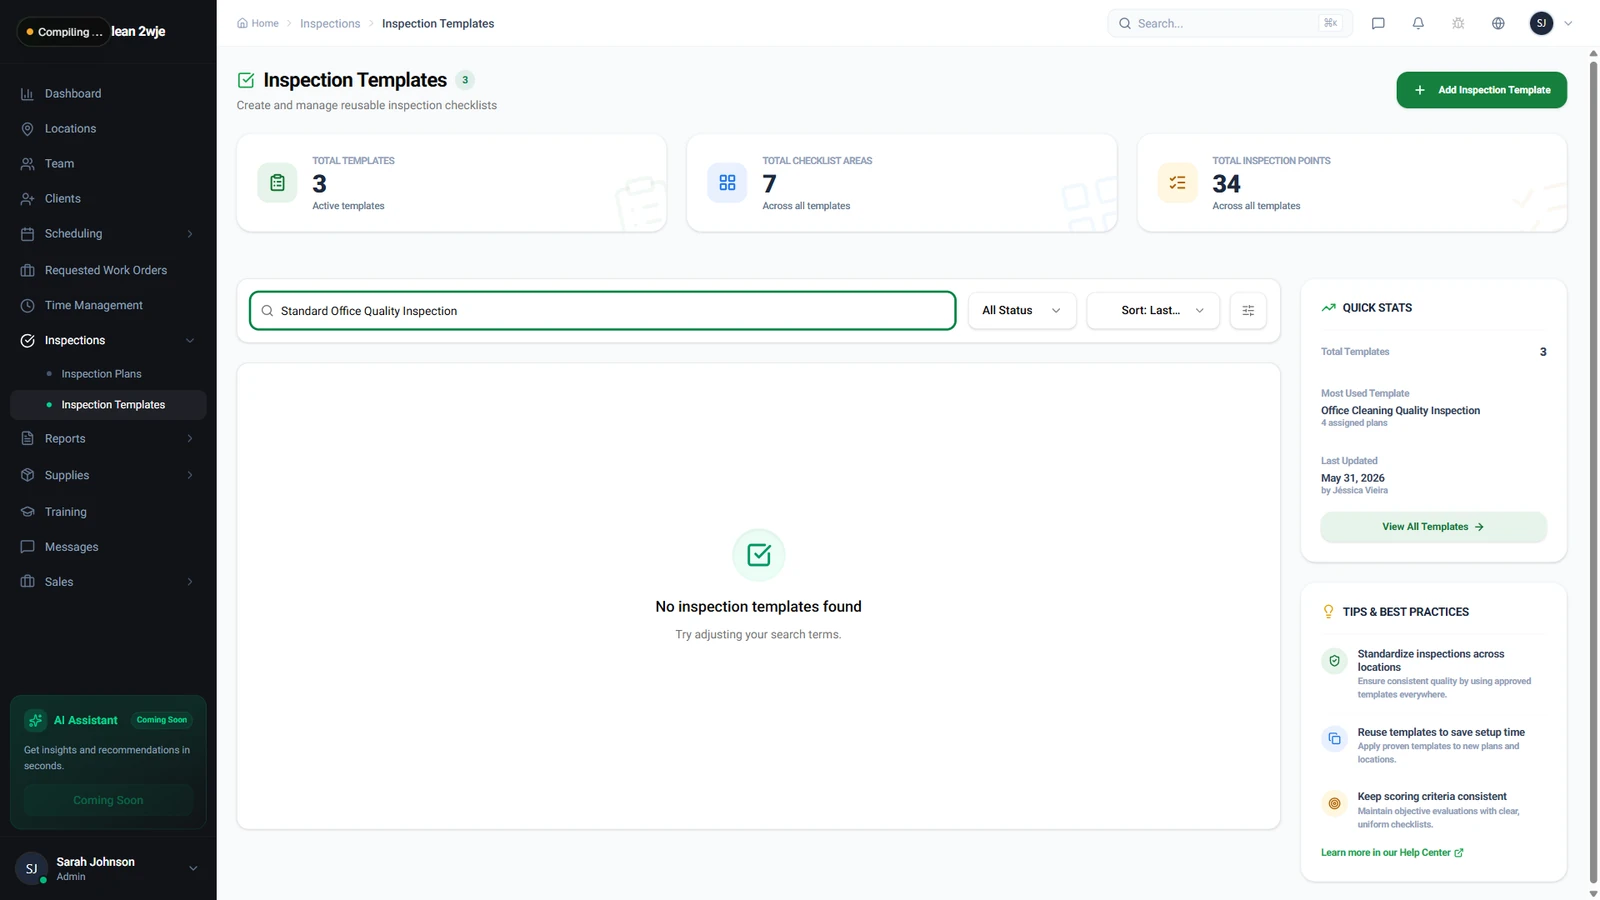
| Template Name | ✅ Yes | Clear name for this inspection type. e.g. "Standard Office Quality Inspection" |
| Description | Optional | What this template is for. e.g. "Weekly quality check for office buildings" |
| Areas / Sections | ✅ Yes | Divide into areas (Lobby, Restrooms, Kitchen). e.g. "Lobby, Restrooms, Break Room" |
| Inspection Items | ✅ Yes | Items to inspect within each area. e.g. "Floor cleanliness, Trash emptied" |
| Rating Scale | ✅ Yes | 1-5 stars, Pass/Fail, or Custom. e.g. "1-5 Stars" |
| Photo Required | Optional | Require photo evidence per item. e.g. "Required for failed items" |
3
Template Saved
Click Save Template. It's now available for inspection plans across all your locations.

ℹ️
Templates are reusable across multiple locations.
🙌
Need help? If you have any questions or run into issues, reach out through the Support section in your dashboard.