Locations
How to Create a Location
Step-by-step guide to adding a new service location.
Last updated June 4, 2026
Locations are where your team provides cleaning services. Every schedule, inspection, and report ties to a location. Let's add one! 📍
1
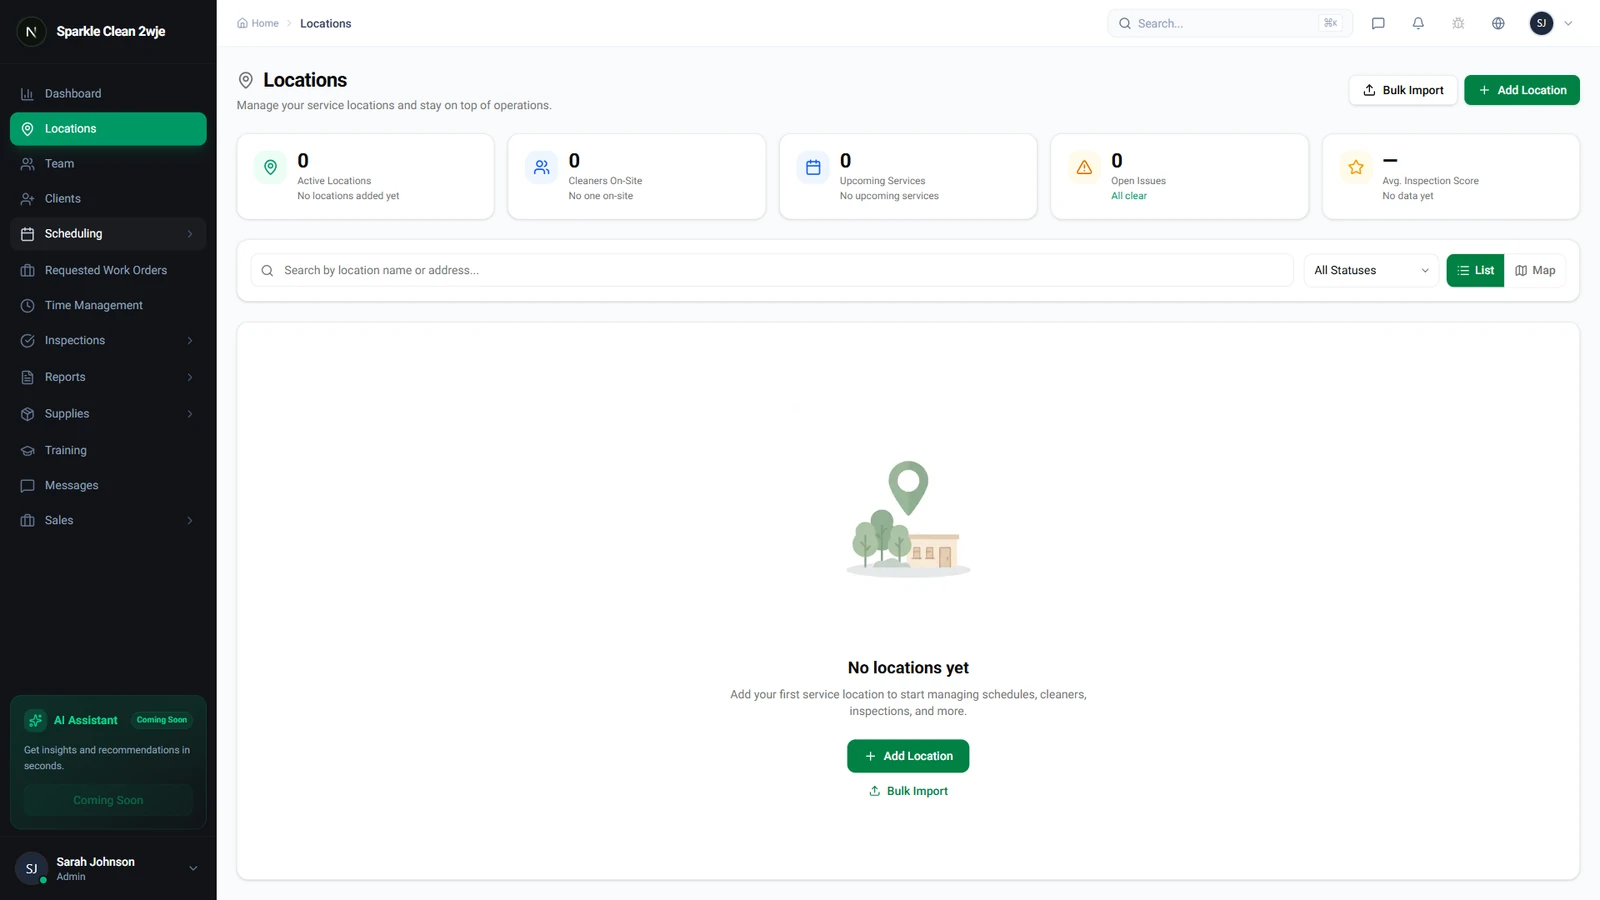
Open the Locations Module
Click Locations in the sidebar. You'll see all your service locations listed here.
2
Open the "Add Location" Form
Click + Add Location. The creation form appears with all fields you need to fill.
3
Fill in Location Details
Complete each field carefully:
💡
Pro tip: The more detail you add (especially cleaning instructions), the smoother your team's on-site experience.
📋 Form Fields
| Field | Required | Description |
|---|---|---|
| Location Name | ✅ Yes | A clear, identifiable name for this location. e.g. "Downtown Office Building" |
| Address | ✅ Yes | Full street address. Used for GPS geofencing and team navigation. e.g. "123 Main St, Suite 400, New York, NY 10001" |
| Client | Optional | Link this location to a client. Can be set later. e.g. "ABC Corporation" |
| Contact Name | Optional | On-site contact person. e.g. "John Smith" |
| Contact Phone | Optional | Phone for the on-site contact. e.g. "(555) 123-4567" |
| Contact Email | Optional | Email for report delivery. e.g. "john@company.com" |
| cleaning instructions | Optional | How to enter the building — key codes, gate info, parking. e.g. "Enter through loading dock. Code: 4521." |
| Square Footage | Optional | Cleanable area size. e.g. "15,000 sq ft" |
| Notes | Optional | Any special requirements or hazards. e.g. "Server room on 3rd floor — do not enter" |
4
Save the Location
Click Save. The location appears in your list and is ready for scheduling, team assignment, and geofencing.
ℹ️
After saving, you can set up GPS geofencing, assign team members, and link supplies from the location detail page.
🙌
Need help? If you have any questions or run into issues, reach out through the Support section in your dashboard.