Scheduling
How to Create a Schedule
Step-by-step schedule creation guide.
Last updated June 10, 2026
Scheduling is the heart of your operations. Each schedule assigns team members to a location at a specific time. 📅
1
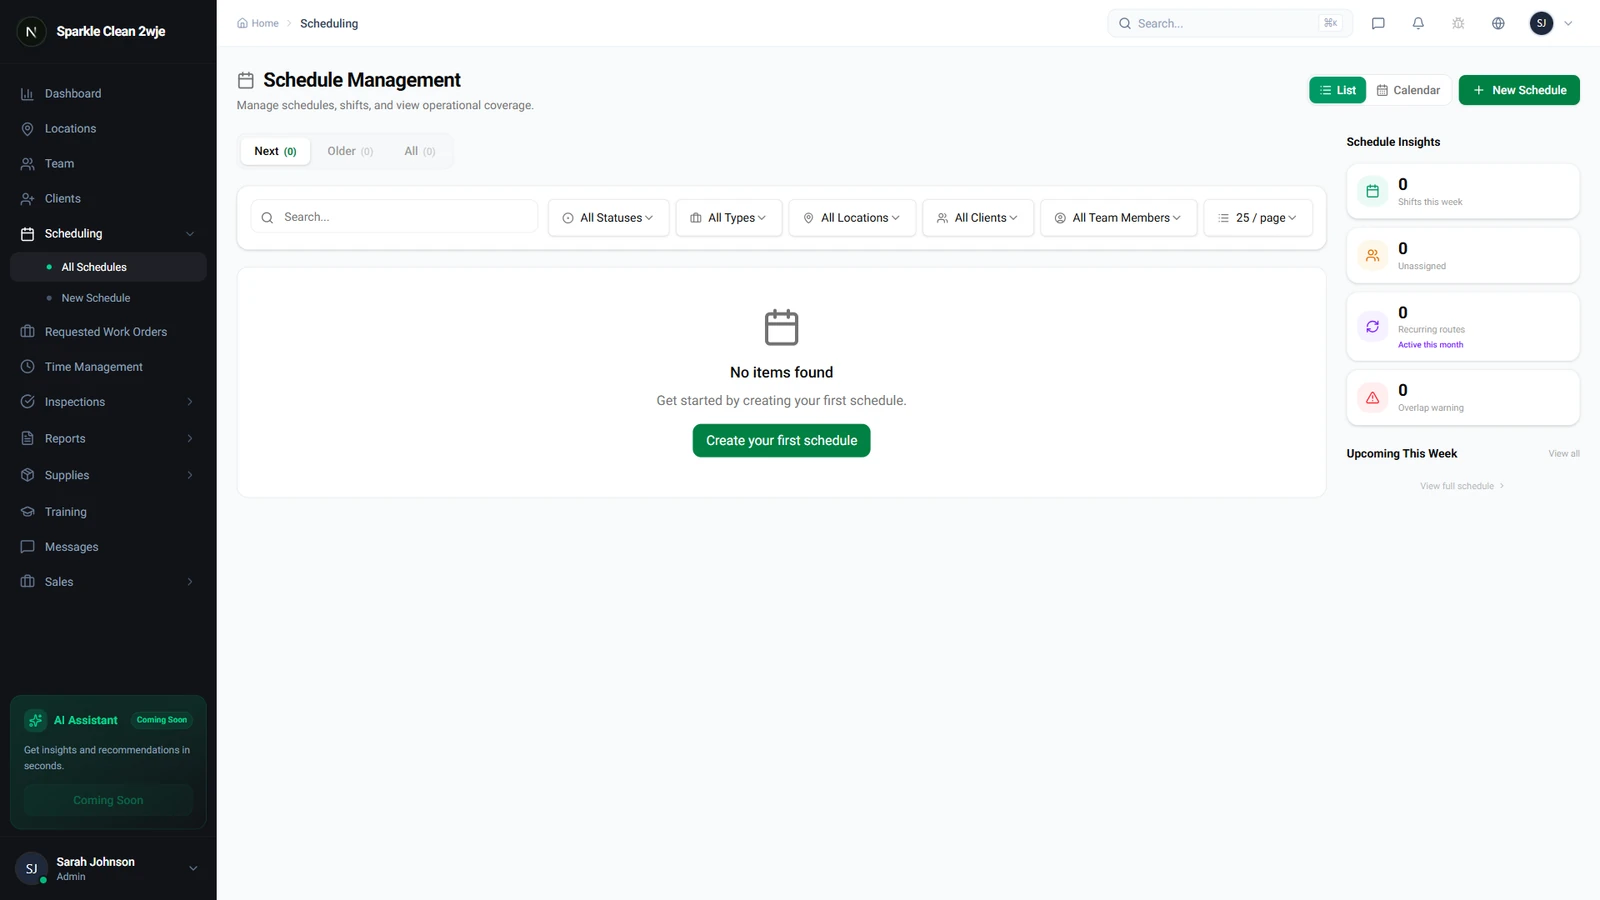
Open the Scheduling Module
Click Scheduling in the sidebar. All schedules are listed here with their status, location, team, and time details.
2
Fill in Schedule Details
Complete all fields:
💡
Pro tip: Assigned team members receive notifications in their mobile app.
📋 Form Fields
| Field | Required | Description |
|---|---|---|
| Location | ✅ Yes | Which location this shift is for. e.g. "Downtown Office Tower" |
| Date | ✅ Yes | Date of the shift. e.g. "June 15, 2024" |
| Start Time | ✅ Yes | When the shift starts. e.g. "8:00 AM" |
| End Time | ✅ Yes | When the shift ends. e.g. "12:00 PM" |
| Team Members | ✅ Yes | Assign one or more members. e.g. "Miguel Silva" |
| Notes | Optional | Special instructions for this shift. e.g. "Focus on conference rooms" |
3
Save
Click Save. The schedule appears in calendar and list views.
ℹ️
Team members see the schedule on mobile.
🙌
Need help? If you have any questions or run into issues, reach out through the Support section in your dashboard.